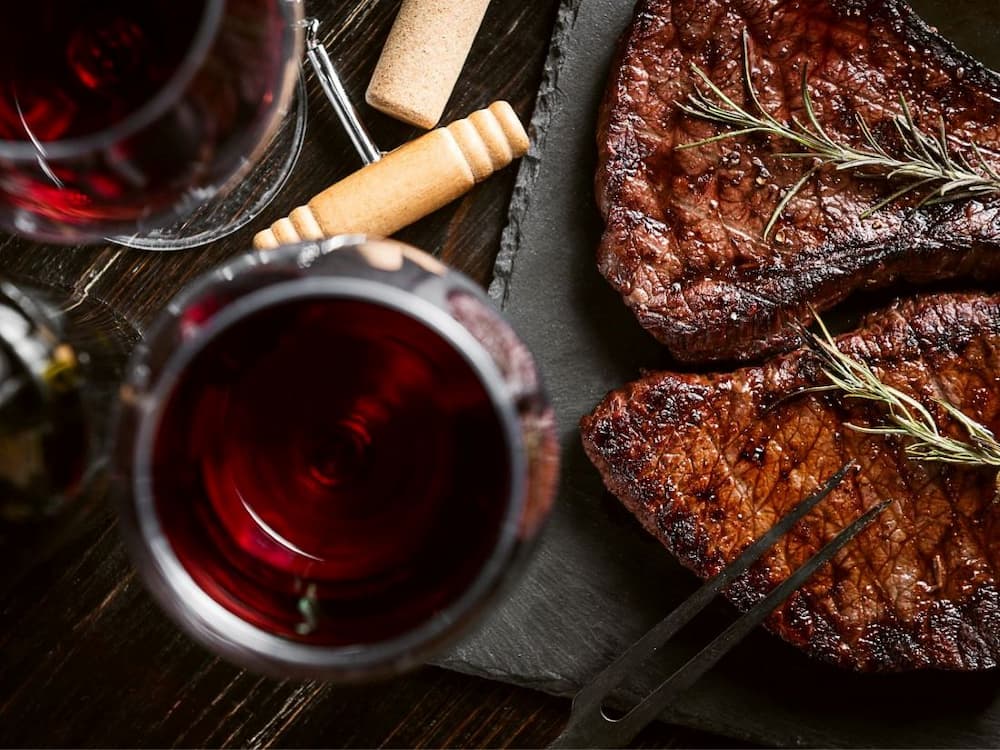
Temperature Guide: How to Grill the Perfect Steak Dinner
This temperature guide is the key to how to grill a perfect steak dinner every time.
You’ll find the best tips for grilling steaks perfectly at all temperatures from rare to well done and the times it takes to get them there.
You can also learn how to tell the doneness of grilled steak should you find yourself cooking one without a thermometer.
And the best thing is you can use the temperature chart over and over again.
This post may contain affiliate links, meaning I get a small commission if you decide to make a purchase through my links. This is at no additional cost to you. Please read my DISCLOSURE POLICY for more info.
Dedication to the Best Temperature to Grill a Steak for a Perfect Steak Dinner
Friday night is steak night at our house! Whew! End of the work week for many of us, Friday means a break from the work grind and the beginning of weekend possibilities.
In my previous job, my work week rarely ended on a Friday as I had a work schedule that could start and stop on any day of the week. So, weekends and holidays were just days.
In my attempt to provide a new work-from-home routine, I mark Friday as “Steak Night” on my calendar. Its arrival helps me tune out the home office and focus on family time. And having a juicy steak waiting for me at the presumptive end of my work week is a tasty treat indeed.

My husband is such a hardcore year-round grill guru that he rivals the Postman with dedication. Neither rain nor snow nor dark of night would prevent him from firing up our Weber charcoal grill and producing some savory seared delight. I literally have pictures of him grilling in a snowstorm guarding the coals with an umbrella over his parka-wrapped body. Boy did those perfectly grilled steaks taste fantastic!
When we lived in the northeast, we found September meant the end of seasonal items in the grocery stores. Charcoal is considered seasonal up there. That just seemed crazy to us. The first year caught us by surprise and we had to ration our coals. We vowed never again!
The next year we were better prepared. When we noticed the dwindling piles of our staples we decided it was time to stock up.
We received some pretty crazy looks from grocery store clerks when we checked out with a cart full of charcoal bags. But, the looks were worth it as we were able to enjoy a winter full of juicy, grilled goods. We’ve been charcoal hoarders ever since.
One of the things I appreciate about Steak Night is it means very little work for me in the kitchen. Everything is prepared almost without my assistance, but I usually play sous-chef or clean-up crew. Especially since grilling means there isn’t much to clean up.
Chart for Best Temperature to Grill a Steak
For any target temperature use this steak guide which you can download with all the temperatures included.
You can download and print it to keep on hand whenever you grill. Just request it below.
Tools for the Best Temperature to Grill Steak
First, of course, you need a grill for this way of cooking steak.
Those of you with a gas grill or a propane grill can cook a great steak, but I am a huge fan of the charcoal grill. It gives steak such a great flavor and good char.
You can also cook steak on electric grills if that is what you have. Set the temp to about 425 degrees F to ensure a good sear.
Second, invest in a good set of long-handled tongs to turn the steaks. With a hot grill, you want to prevent your hand from being burned and dropping your steak.
Finally, an instant-read meat thermometer or meat thermometer can truly save the grilling day as a steak can go from medium rare to well done in just a few minutes.
7 Tips for a Perfectly Grilled Steak Dinner
Here are some recommendations for grilling a perfect steak.
1. Bring your Meat to Room Temperature
The first step in the preparation process is to take your cold steak out of the refrigerator. Let the meat sit at room temperature for 30 minutes.
Two reasons for this. First, a room temperature steak cooks faster than a cold steak. Less cooking time means less time for the steak to dry out.
Second, a cold steak right from the refrigerator will contract more when placed on a hot grill. This pushes more juices out of the meat.
The USDA has a food safety strategy for raw meat. They recommend leaving steak out for less than two hours. Additionally, if temps are over 90 degrees F then only leave out raw meat for an hour.
So you see, it is safe to let your steak come to room temperature before cooking and ensure the correct doneness and juiciness of your steak.
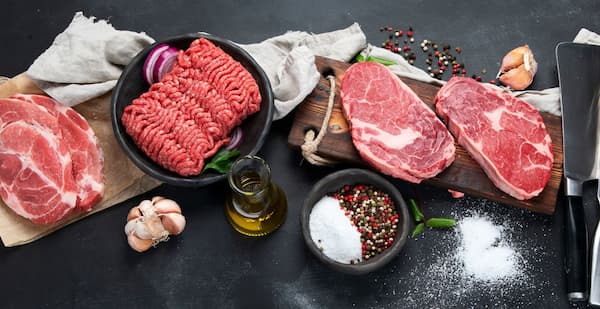
2. Preheat Your Grill
The number one rule in grilling is to preheat your grill to a high temperature every single time you are going to grill meat.
This is actually the second step in the cooking process as preheating the grill takes less time than your meat coming to room temperature.
You should preheat the grill temperature to medium-high heat or high heat.
First, this allows old food to burn off your grates and you can brush the cooking grates clean. You should always begin grilling with clean grates.
Second, although you can sear your steak between temperatures of 300°F to 500°F you need to heat the cooking grates themselves to between 450 – 550 degrees F to create really nice sear marks.
3. Salt is Your Friend
When you remove the meat from the fridge you can blot excess juice with a paper towel. Then salt and pepper it or put on your favorite rub. The salt draws some juices out, but it dissolves into the juice.
This layer helps create a delicious crust on your perfectly grilled steak.
4. Sear the Steaks
Seriously, sear your steak! Whether you sear first or reverse sear this process is a great way to increase the flavor of your steak and truly enjoy a perfectly grilled steak dinner.
Searing meat caramelizes the outside of the food as well as the seasonings to create a one-of-a-kind flavor.
Also, sear marks are a hallmark of grilled steak.
The searing process is also known as the Maillard reaction. The most effective searing range is about 300°F to 500°F. But be careful as searing at temperatures beyond 500°F can dry out your food and burn it.
For the best sear, preheat your grill and make sure your grill grates are clean. Then place your steak on the hot grill over direct heat. Turn your steak over after two to four minutes depending on your cut and the thickness of the steak.
This is key in creating all the amazing aromas and flavors on the surface of the steak.
5. Tame the Flame
Be on the lookout for grill flare-ups. When the fat juices drip onto the gas flames or hot charcoal this can quickly lead to a flare-up!
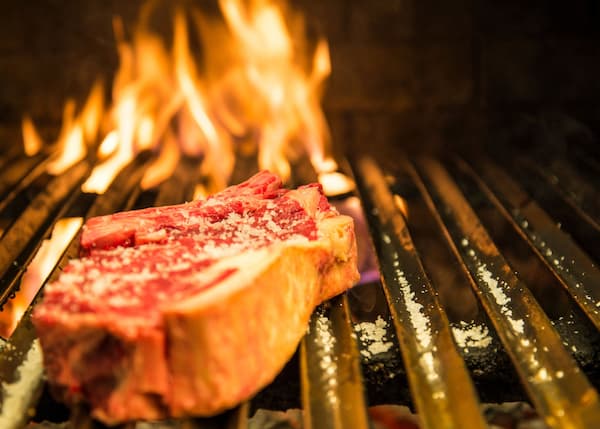
This is bad because the flames will burn your steak, not cook it to your desired doneness.
You can close the grill lid to put out the flare-up, but a quicker way is to use water. Keep a spray bottle filled with water near your grill so you can put out those flames.
6. Keep Track of Temperatures
Use an instant-read thermometer to quickly check for doneness. If you have a meat thermometer you can use that as well. Be sure to insert it into the thickest part of your steak.
Remember to test early as you can always put the steak back on the grill if it isn’t done enough.
Keep in mind it will continue to “cook” even after you remove it from the grill. So, take your steak off the grill five to ten degrees before it reaches your desired temperature.
7. Let Your Steak Rest Before Enjoying your Perfectly Grilled Steak Dinner
Give it a rest after cooking. Especially if you are sharing a steak, let the meat rest between five and fifteen minutes before cutting it. You can tent your steak with aluminum foil to keep it warm.
The internal temperature of your steak will continue to increase while it rests. Additionally, this resting time allows the juices to move back to the center of your steak.
Best Temperature and Times to Grill a Steak
There is a bit of an art in grilling the perfect steak.
If you are grilling for one or two, the task is pretty straightforward.
However, if you have multiple guests or are cooking for a crowd then it takes a bit more planning.
No doubt your guests have an ideal temperature in mind for what they consider the perfect doneness of their steak. Each one will require a different cooking time for different temperatures to be achieved.
The best way to begin is to place steak on the grill in the order of temperature ranges. If you are going to grill steak to well done then place them on the grill first. If the steak temperature you are trying to achieve is rare, then it goes on last.
Place the steaks in order of temperature ranges from highest to lowest. This allows the proper temperature of each steak to be achieved with about the same finish time.
This is really where an instant-read thermometer comes in handy. After the initial sear on both sides of the steaks and a couple of minutes of indirect heat, the best way to determine any steak temperature is to insert the probe of an instant-read thermometer. (See Shopping Resources below.)
The right place to test is in the center of your steak and in the thickest part of the steak.
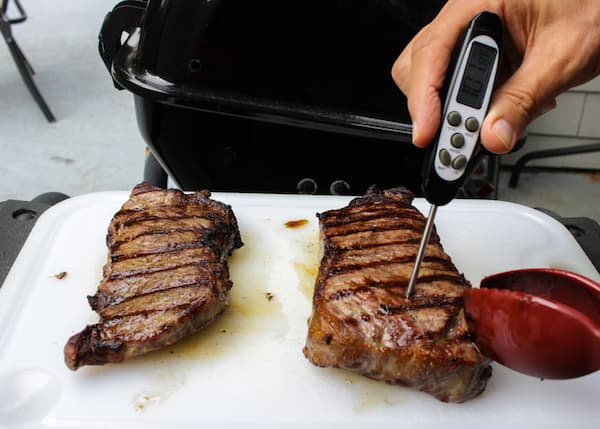
Be aware of the thickness of the steak as you don’t want to push the probe in too far. You want an accurate reading of the steak’s internal temperature not the heat of the grill.
How to Test a Steak’s Doneness Without a Thermometer
If you do not have an instant-read thermometer here is a general guideline to test the desired doneness of meat.
Lay your hand on a flat surface with your fingers relaxed. Press into the flesh below your index finger knuckle on the side between the index finger and the thumb. It feels a little squashy, but you can feel the muscle underneath. This is the texture of steak cooked rare.

Now, close the thumb and fingers together, just flat on the surface, and feel the spot again. This should feel a bit firmer and lightly springy. This is closer to a steak cooked medium rare to medium.
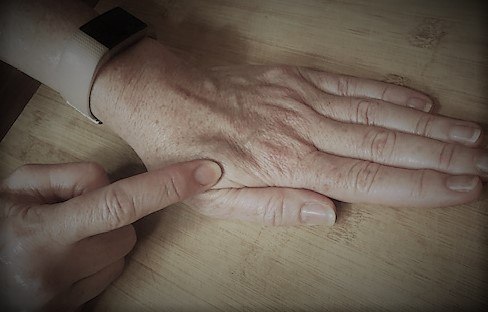
Make a fist with your thumb on top of your index finger and squeeze. The same spot should now feel quite firm with very little spring. This is how a medium well to well-done steak should feel.
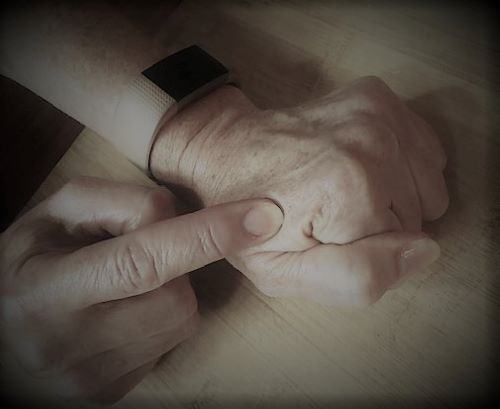
This is merely a rough guide and all hands are different, but with practice, you can get the feel for it.
Time Guide for Doneness of Your Steak Depends on the Cut
Two things to keep in mind when achieving the best results for a perfectly grilled steak dinner are the type of steak meat and the thickness of your steak.
There are so many types of great steaks to cook on the grill! But, most believe the best temperature for grilled steaks is medium-rare. This is when they are tender and juicy with a pink center, but seared well on the outside.
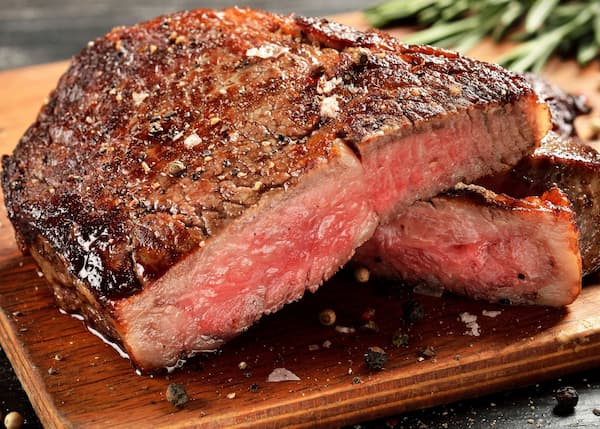
Thick steaks like a one-inch thick New York Strip steak will cook medium-rare or to about 130 degrees F in 7 – 10 minutes per side. That includes the searing time.
For a well-done steak increase your time by two minutes more per side, but don’t cook it beyond 155 or it can really dry out.
A Ribeye steak is an exceptional treat from the grill. Be sure to trim excess fat to avoid flare-ups. Grill your one-inch thick Ribeye for about 9 – 11 minutes per side and 12 – 15 minutes if it is 1 1/2 inches thick.
Sirloin steak is a good medium steak to grill, but as lean meat, you’ll want to reduce the cooking time. A 1-inch sirloin takes approximately 4-5 minutes on each side for a medium-rare steak or 5-6 minutes for a medium-cooked steak.
I like to use a grill brush to top my sirloin with a little olive oil, finely minced garlic, and a few herbs one minute before it reaches its level of doneness. This is the best time to apply it so some of the oil can absorb without greatly increasing the chances of a flare-up.
Thinner steaks like flank steak or skirt steak will also take less time to grill. Keep a close eye on thinner steaks like these.
Purchase high-quality meat regardless of which cut of meat you choose. You don’t always have to have filet mignon to enjoy a really good steak.
It is a good idea to grill steaks that are basically the same size rather than trying to grill different sizes of meat at the same time. This way you are not guessing about when you have achieved the correct doneness of the steaks.
If you grill thicker steaks, over 1 1/2 inches thick, you will need to increase your cooking time. So, sear them on both sides before moving the steaks to an indirect heat zone on the grill to finish cooking. This should prevent burning the outside of your steak before the inside is done to your preference.
Instructions to Achieve the Best Temperature to Grill a One-Inch Steak
- Remove the steaks from your refrigerator, season them with salt, pepper, or your favorite salted rub, and bring them to room temperature.
- Preheat your grill with all of the burners on high, the dampers open and the grill lid closed for 10 to 15 minutes. If you are using charcoal, light a chimney of charcoal bricks and heat up for 15 minutes. Spread the charcoal in the bottom of your grill, and replace the grill grates. Place the lid on top with the dampers open and heat up the grates for 10 – 15 minutes.
- Brush your cooking grates clean and adjust your grill for direct, high heat. The best temperature for steaks is 450 degrees F to 500 degrees F.
- Put your steaks on the grill, close the lid, and set your timer for 2 to 3 minutes. Add 1 – 2 minutes more if you are grilling a thicker steak. And if the outside air temperature is below 32 F, you may have to add a minute or two per side of steak.
- Open your lid and turn over your steaks onto a new area of the cooking grate. Placing the steaks in a new spot ensures those great sear marks as the heat on a new area of the cooking grate has not been absorbed. Close the lid and set your timer for an additional 2 to 3 minutes.
- Use an instant-read thermometer to test your steak for doneness. If it needs more time, add one to two minutes before checking the internal temperature of your steak again. Keep a close eye on your steak at this point.
- Once your steak is cooked to your personal taste remove it from the grill. Be sure to let it rest for a minimum of five minutes and up to 15 minutes if needed. Tent with aluminum foil if desired.
- Dig in!
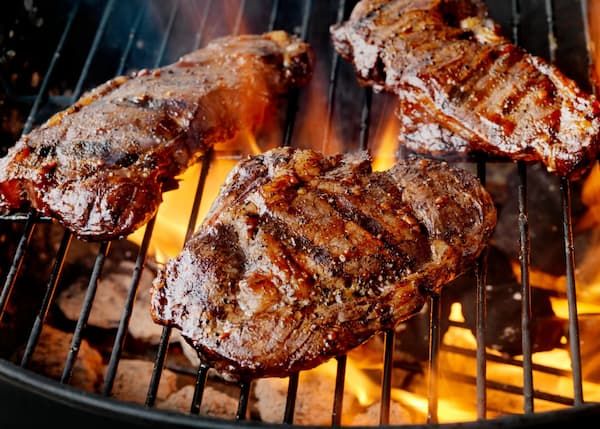
What To Serve for A Perfectly Grilled Steak Dinner
Over the years the menu has not changed much, but extras appear from time to time.
And, we almost always have a baked potato and salad with it. Steak Night is not a time to count carbs or worry about calories.
Amp Up Your Steak
Top the steak with flavored butter or caramelized onions for a delicious pop of flavor.
How about a Surf and Turf Option for a romantic or special occasion steak night? Here is how to prepare a Special Occasion or Romantic Candlelit Steak Dinner for Two (or more).
And you can easily select your wines for a surf and turf dinner by reading all about the Best Steak and Lobster Wine Pairings.
Of course, a surf and turf meal isn’t just about lobster. Feel free to add shrimp, crawfish, or seared scallops to the menu.
A special occasion or celebration might mean picking a higher-end cut of meat for a splurge. You decide! It will still be a more economical way to celebrate than eating out.
Baked Potato
A baked potato is a classic pairing with steak. Pop them in the oven to cook before working on your steak and it will be done in about an hour. Perfect timing to enjoy it with your steak.
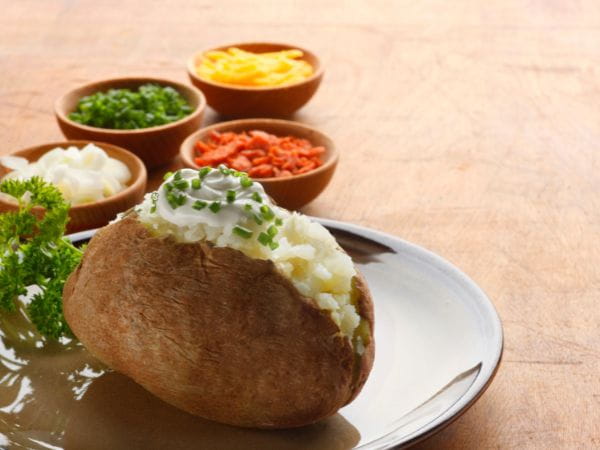
Here are some tips on How Long to Cook a Baked Potato for the fluffiest side dish.
Not Boring Salad
Have you ever tried Grilled Romaine? It is a fantastic way to make a salad. Top your grilled salad with this Bombdiggity Blue Cheese dressing and it will knock your socks off! You can find the recipes on the Memorial Day Great Steak Cookout Menu.
Wine Recommendations for Your Perfectly Grilled Steak Dinner
Don’t forget the vino! You can always throw a Cabernet Sauvignon at a juicy steak, but branching out is fun!
Try a Malbec from Argentina or a Petite Sirah from Paso Robles and amp up your meal with something different.
If you can find it, the red blend Grandioso from Opolo Vineyards in Paso Robles is fantastic!
These bold, beautiful reds can stand up to a grilled steak with an elegance and fruity zip that is a very enjoyable pairing.
Invite Friends Over for a Perfectly Grilled Steak Dinner
Enjoy your own Steak Night!
This is an easy meal to cook for 2 – 10 and can be quite versatile with just a few tweaks.
The really good news is after the initial prep, you won’t be trapped in the kitchen cooking.
Instead, you can enjoy some conversation and a glass of something crisp on the patio while everything cooks. This entire meal should be approached with leisure and relaxed confidence just like a Guru of the Grill.
Cheers Y’all!
P.S. Please share this post with your friends on your favorite social media! And comment below on how these tips helped you grill your own perfect steak. Thanks!
Shopping Resources


One Comment
Don J Hanle (The somewhat older one.)
I have been the partaker of these finished products on steak night many times. My mouth was watering just reading the description. She mentioned several types of steak but I don’t ever remember asking what it was. I just shut up and ate. Oh so very good!