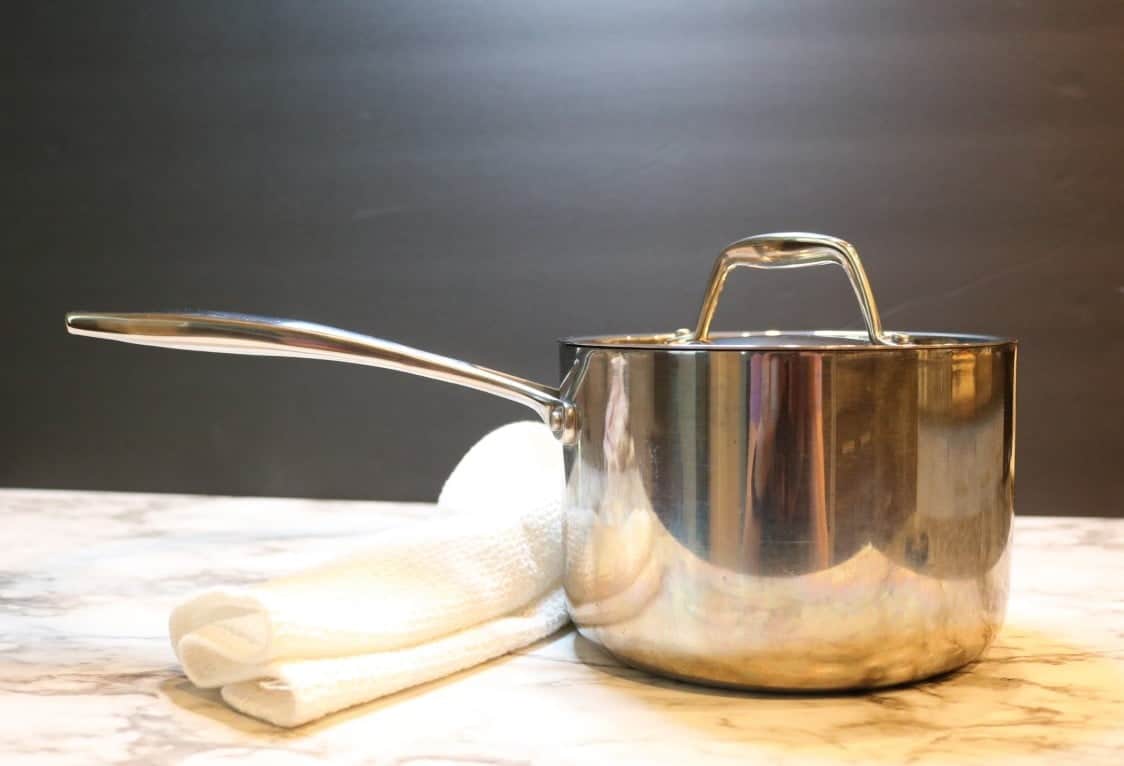
How Clean Can a Burnt Pot Be? Like New!
How clean a burnt pot can be using this trick! It’s like magic!
Have you ever burnt a pot or pan on the stove? If so, then you know how frustrating it can be to try and clean it.
The blackened food seems to stick to the pot no matter what you do, and it often leaves behind a charred mess of tiny bits. But don’t worry, we have a trick for you that will make this process much easier!
Accidents and Burnt Pots Happen
I was creating a concoction of water and sugar for my hummingbird feeder. It’s a simple combination of 1 part sugar to four parts water which you bring to a quick boil before turning the stove off to let the sugar water cool. Just as I turned on the burner, I received a phone call for help. I walked away from my stove for just one minute (really – it felt like a minute) to lend aid to my caller. Then I returned to my kitchen to find smoke pouring out of my pot.
I quickly put the lid on the pot and turned off the burner. Then I turned on the vent fan to high speed before running the smoking pot to the porch. I spent the next twenty minutes opening windows and doors and turning on fans to clear the smoke. Ugh.
I just knew the pot was ruined and I was sick about it as the pot was fairly new. I couldn’t face it and left it on the porch overnight.
The next morning, I retrieved the pot but found the lid had to be pried off. Hello vacuum seal.
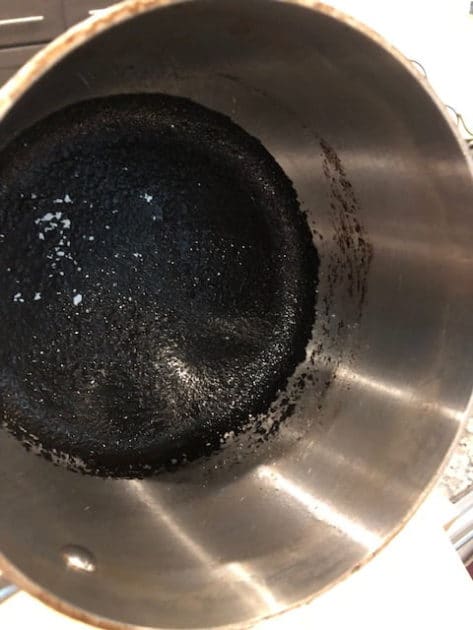
Once open I discovered the sugar had bubbled up the sides of the pot before scorching and hardening. I began the lengthy process of hacking the charcoal hard substance out of the pot.
Initially, I thought I could get everything out pretty quickly, but the longer I hacked the more frustrated I became. I also knew I was in danger of scratching or damaging the interior if I continued to attack the blackened sugar to remove it.
I just knew there had to be an easier way. So, I took a break and began to research better options.
How do You Remove Burnt Food from a Pan?
There are many ways to clean a pan with burnt-on food. The grocery store shelves have lots of different chemicals and types of scrubbers competing for your hard-earned money.
I appreciate home remedies as you control the ingredients, which are typically more natural and less harsh. And you usually save money.
I have tried many types of cleaners, but one critical factor to keep in mind when choosing your cleaning agents depends on what the pot or pan is made from.
You don’t treat non-stick, stainless, or cast iron the same way.
Remove Burnt Food and Stains on a Non-Stick or Ceramic Pan
My scorched pot is stainless steel, but non-stick pans need to be treated a little differently. These pans can receive stains, and retain flavors and odors from scorched foods and especially from scorched oil. But you should not use any kind of metal tools or scrubbing pads otherwise you will probably harm the non-stick surface.
According to Arm and Hammer, here are the steps to take to both neutralize odors and clean coated or ceramic non-stick pans using just baking soda, water, and a nylon brush or non-scratching sponge.
- Remove as much food and debris from the pan as possible.
- Method 1: cover the bottom of the pan with a thin layer of warm water and sprinkle liberally with baking soda to create a paste. Let the mixture rest for several hours or overnight, then scrub with warm water and a non-stick surface-safe sponge or nylon brush.
- Method 2: In the scorched pan, bring a solution of ½ cup water and 4 tablespoons of baking soda just to a boil. Remove from heat and let the pan rest until it is cool. Add more baking soda and scrub with a cookware-safe sponge or nylon brush.
How to Clean a Burnt Stainless Steel or Aluminum Pot

The Arm and Hammer website also recommends using baking soda to clean a burnt stainless steel or aluminum pot or pan. They state “Baking soda is your go-to for cleaning a burnt pot or pan because it has mild abrasive properties and its alkaline pH can help neutralize acidic burnt foods. It can also combine with an acid, such as vinegar or lemon juice to create a fizzing reaction that helps loosen burnt food to get it off your pan.”
I tried this method in the past with some luck so why not again?
Try the Deglazing Method to Clean a Burnt Pot or Pan
Eventually, I was going to have to use elbow grease again, but I needed to reduce the amount of gunk in the pot without damaging the interior. As I knew the depth of the burnt sugar-coating was too thick to scrub alone so I went for the deglazing method first.
This is the same deglazing technique you may have used to loosen flavorful bits from a pan to make a sauce or gravy. Basically, you have to loosen the burnt-on food first and then deglaze the pan, then use elbow grease to clean.
How to Clean Burnt Pots by Deglazing with Vinegar
According to a post on BobVila.com, this is a tried-and-true strategy to clean your scorched or burnt pot or pan. Using vinegar, you can easily clean the burnt bits out of your pan. No scratched pot, no damaged interior, and no blistered hands. Using this trick is supposed to save you time and frustration when you need to clean burnt blackened foods out of your pots and pans.
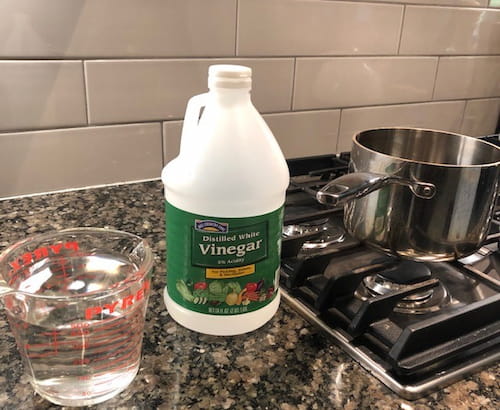
Here’s what you’ll need:
- White Vinegar
- Water
- A clean cloth or sponge
Instructions:
- Pour equal parts vinegar and water into the burnt pot. Make sure you cover the burnt part completely
- Bring to a boil for 10 minutes. The heat with vinegar’s acidity will help to loosen the stubborn stains left by burned food. As it boils, you’ll see small bits of blackened debris breaking away from the bottom and sides of the pot.
- Remove from heat and let the pot soak while the liquid cools. Dump out the cooled liquid and scrub away any remaining burned gunk using a cookware-safe sponge.
So, this did remove some burnt sugar from the pot, but most of the scorch was still a thick coat of rock-hard debris.
It seemed I was on to something and took it a step further. Following the steps again, but without adding water, I attempted to deglaze the pot. I used the white vinegar alone, for my second attempt.
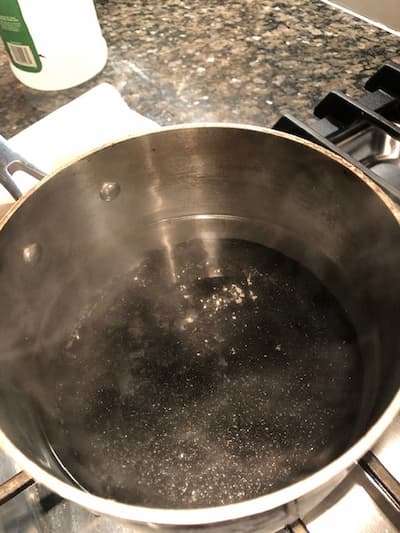
I put enough white vinegar in the pot to cover the bottom and put the burner on high to boil.
PEW!!! The boiling vinegar stung my eyes and stunk up the entire room! And even after boiling for an hour and scrubbing until my shoulder ached, I still had gunk left in the bottom of my pot!
Deglazing with Water and Scrubbing with Baking Soda
For this method you will be using your stove and you’ll need the following:
- Water
- Baking soda
- A nylon scrubber
- Remove as much burnt debris from the pot as you can.
- Next, put the pot back on the stove and turn on the burner to medium-high.
- Add enough water to cover the burnt food and bring to a boil.
- Then use a spatula or scraper (that won’t damage your pot or pan) to deglaze the bottom of the pan, loosening bits of burnt food.
- Pour out the liquid, but don’t dry the pot.
- Cover the bottom of the pot or pan with a liberal amount of baking soda and let cool.
- Use a scouring sponge or nylon brush or scraper to scrub the pot clean.
My pot was so scorched that the deglazing method only brought a few crumbs to the surface of the boiling water. I boiled for an hour without much success.
On to another method also recommended by Arm and Hammer.
The Baking Soda Paste Method
- Remove as much food and debris from the pan as possible.
- Cover the scorched parts of the pan with a paste of 3 parts baking soda to 1 part water. For a pot with a base that is completely burned, try 1 cup baking soda and 1/3 cup water.
- Apply the paste to the burnt pan liberally so as to fully coat the burnt areas. For a larger item just cover the bottom of the pot or pan with a thin layer of warm water and sprinkle a liberal amount of baking soda to create a paste.
- Let the mixture sit for a few hours or better yet, overnight. Then add more baking soda and scrub with a nylon brush or scouring sponge.
I did not want to wait, so I followed the directions to speed up the process a bit.
- Follow steps 1 – 3 above.
- Add another ¼ – ½ cup water to thin the paste. Put the pan on the stove and bring to a boil. Then quickly remove from the heat and let the pan cool.
- Wipe or scrub to remove the scorched bits.
It helped a little bit, but my pan was still pretty coated. I knew I was on to something with the deglazing method, so I dug a little more.
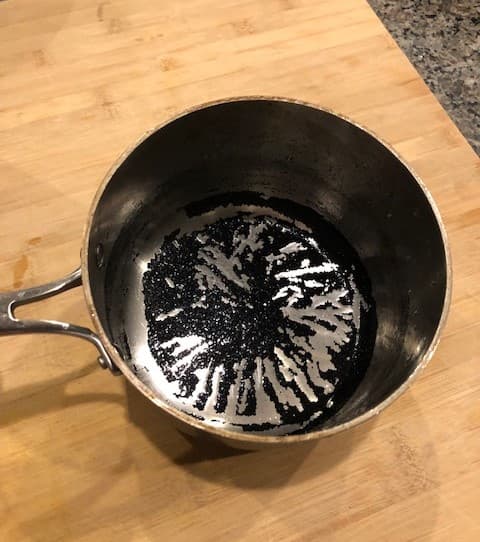
At just about the point of giving up, I saw a video that became a game-changer.
The Secret to Cleaning a Burnt Pot is Hydrogen Peroxide
Web MD states “Hydrogen peroxide is a mild antiseptic used on the skin to prevent infection of minor cuts, scrapes, and burns. This product works by releasing oxygen when it is applied to the affected area. The release of oxygen causes foaming, which helps to remove dead skin and clean the area. This product should not be used to treat deep wounds, animal bites, or serious burns.”
Unless that serious burn is inside a stainless-steel pot!
According to Wikipedia, you should keep the following in mind:
- Hydrogen peroxide decomposes to form water and oxygen.
- The rate of decomposition increases with a rise in temperature.
- This decomposition of hydrogen peroxide liberates oxygen and heat; this can be dangerous, as spilling high-concentration hydrogen peroxide on an open flame can cause a much larger fire.
If you use hydrogen peroxide on a gas stove please be careful. I used regular grocery store hydrogen peroxide, about 5%, not the high-concentration form.
Also, it has great uses in everyday household cleaning and is a gem for removing blood stains from fabric.
How Clean a Burnt Pan Can Be After Using Hydrogen Peroxide
Seriously! In the video, Alicia from Pins in a Nutshell tests out different ways to remove scorch marks and burned-on food from pots and pans. She uses the baking soda method, attempts to deglaze with vinegar, and then turns to hydrogen peroxide.

I wish I found this hours earlier! I already tried the first two, so I grabbed my hydrogen peroxide, which I use often in the kitchen to clean, and got to work.
How to Clean Burnt Pots with Hydrogen Peroxide
- Place the burnt or scorched pan on the stovetop.
- Add enough hydrogen peroxide to cover the burnt portion.
- Set the burner to high and bring the hydrogen peroxide to a rolling boil.
- Watch for the burnt debris to loosen and float to the top.
- Wash the pan with dish soap and hot water.
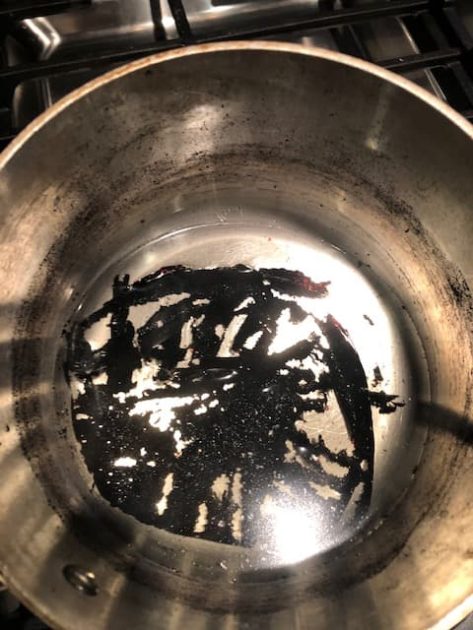
My Burnt Pot is Like New!
All of my burnt debris on the bottom of the pan simply floated to the top and I just dumped it out. I used a little elbow grease on the side of the pan where the burnt sugar ballooned, but it did not take much scrubbing at all.
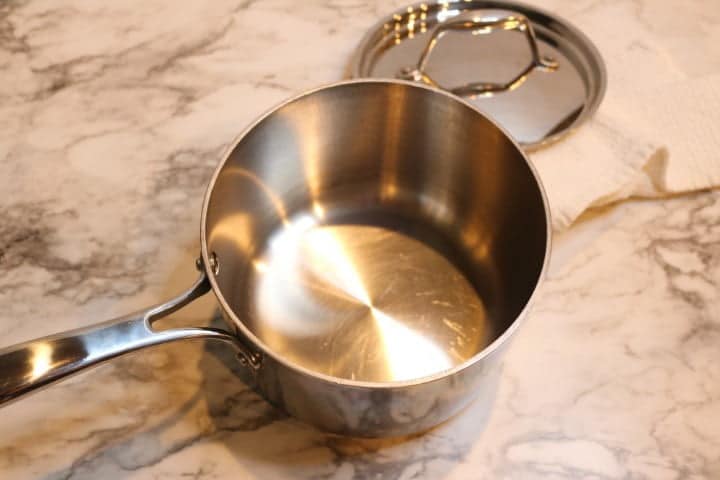
Now that my pot is sparkling clean I think I’ll make some Hollandaise Sauce for brunch this weekend. And in celebration of this cleaning success I’ll serve my favorite Prosecco Cocktail which I normally reserve for Christmas gatherings. Delish!
The next time you find yourself with a seriously burnt or scorched pan, grab your hydrogen peroxide. You will appreciate the outcome, save time, and your scrub-free hands will thank you!
Cheers Y’all!
P.S. I would really appreciate it if you would share this post with friends! Put a link on your social media sites! Thanks in advance.


